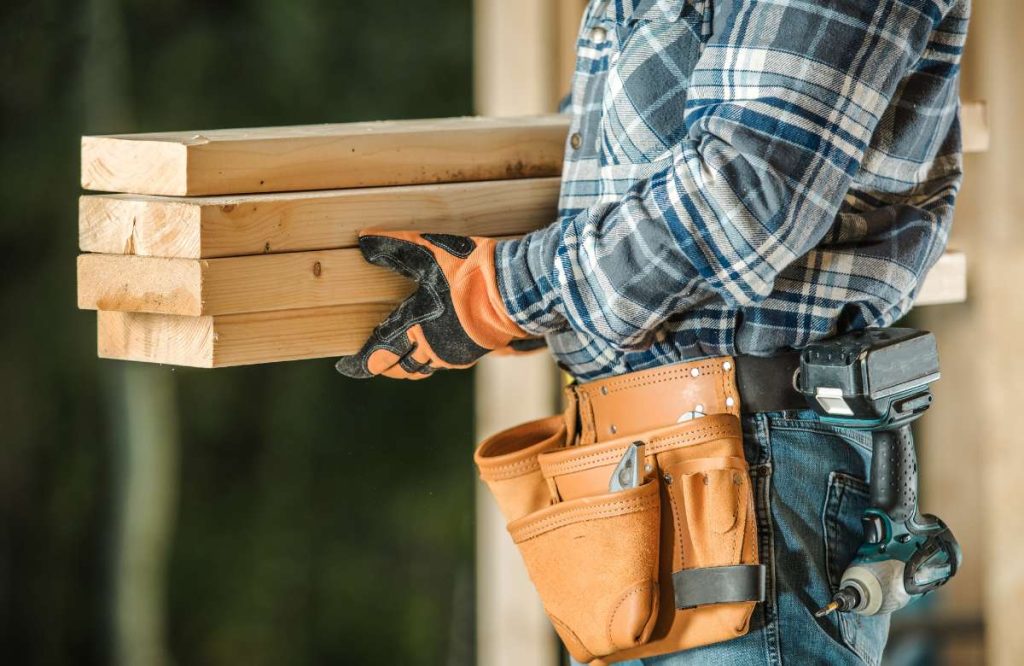
Adding a custom shelving unit to any room is a fantastic way to improve both functionality and design. With the right tools and materials, you can create a shelving unit that fits perfectly with your space and style. In this blog post, we’ll walk you through the steps to build a custom shelving unit that’s perfect for your home.
1. Plan Your Design
Before diving into construction, start by planning your shelving unit. Consider the room’s dimensions, the purpose of the shelves, and the overall aesthetic. Whether you want floor-to-ceiling bookshelves, a display for decor, or a combination of both, having a solid plan is essential.
Key Considerations:
- Size and Placement: Measure the available space and determine how large the shelves need to be.
- Purpose: Will the shelves hold heavy items like books, or lighter decor pieces?
- Material Choices: Popular materials include wood, MDF (Medium-Density Fiberboard), and metal brackets for a modern touch.
2. Gather Your Materials
Once you have your design planned, gather all the materials you’ll need. For a basic wooden shelving unit, you’ll require:
- Wooden boards (cut to size)
- Shelf brackets or wall-mounting hardware
- Screws and wall anchors
- Sandpaper and wood finish (stain or paint)
- Power drill, level, and measuring tape

Tip: Most hardware stores can cut wooden boards to your specified dimensions if you don’t have the tools at home.
3. Prepare and Finish the Wood
Before assembly, prepare your wooden boards. Sand the edges and surfaces to remove any rough spots. Once smooth, apply your chosen finish, whether it’s a stain for a natural wood look or paint to match your room’s color scheme. Allow time for drying between coats.
Steps:
- Sand the wood thoroughly.
- Apply your chosen stain or paint.
- Let the wood dry fully before assembling.
4. Install the Brackets or Wall Supports
Next, determine where your brackets or wall supports will be installed. Use a level to ensure everything is straight, and mark the spots for screws. If you’re installing a larger, heavier shelving unit, make sure to secure the brackets into wall studs or use strong wall anchors to ensure stability.
Installation Tips:
- Wall Anchors: Use these for added support, especially in drywall.
- Spacing: Make sure your shelves are evenly spaced and can hold the weight of your items.
- Use a Level: This ensures the shelving is aligned properly on the wall.
5. Mount the Shelves
With the brackets installed, it’s time to mount the shelves. Carefully place each wooden board onto the brackets, ensuring they sit flush and securely. If needed, use screws to fasten the shelves to the brackets for additional stability.
Final Touches:
- Check the sturdiness by placing a few lightweight items first.
- Secure the shelves with screws if you feel they need extra support.
6. Style and Organize
Once the shelves are up, it’s time for the fun part—styling them! Add your favorite books, decor, or plants, and organize the space in a way that complements the rest of the room’s design.
Styling Tips:
- Mix and Match: Combine books, plants, and decorative items for a balanced look.
- Group in Threes: Group items in sets of three for an aesthetically pleasing arrangement.
- Keep It Functional: While decor is important, remember the shelves’ primary function is storage.
Conclusion
Building a custom shelving unit is a rewarding DIY project that can enhance any room in your home. With careful planning, the right materials, and a bit of patience, you can create a shelving system that suits your style and needs perfectly. Ready to get started? Contact us today if you need help or guidance with your remodeling or DIY project!


